Previously, before creating a bootable USB flash drive, you must select an image to create a system disk with TrassirOS
To run the image, you can use any virtualization program that supports the "ova" format.
For example, to record an image, you can use the following free programs:
VMware Workstation Player - free for non-commercial use
VirtualBox (Oracle VM VirtualBox) - free software
Running an environment to write an image on a VMware Workstation Player VM.
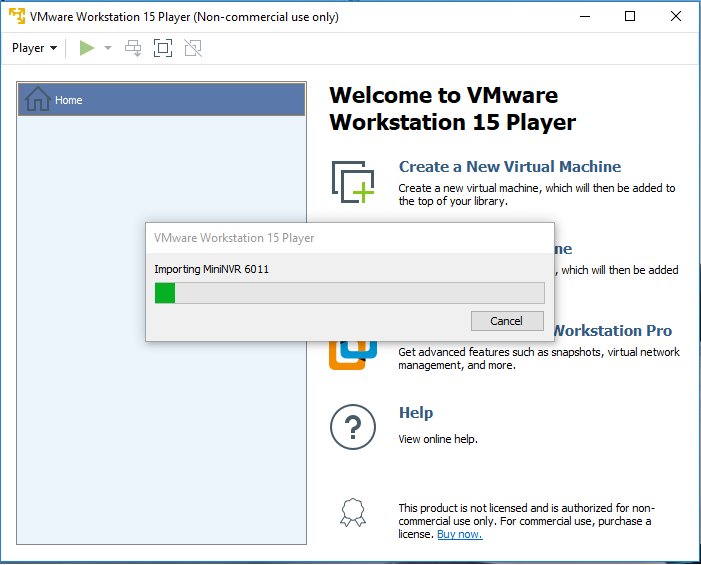
Import the image to the VM
Player → File → Open →specify the path to the downloaded file with the image → Open → Import

After opening the image, the Configuration Import procedure will begin
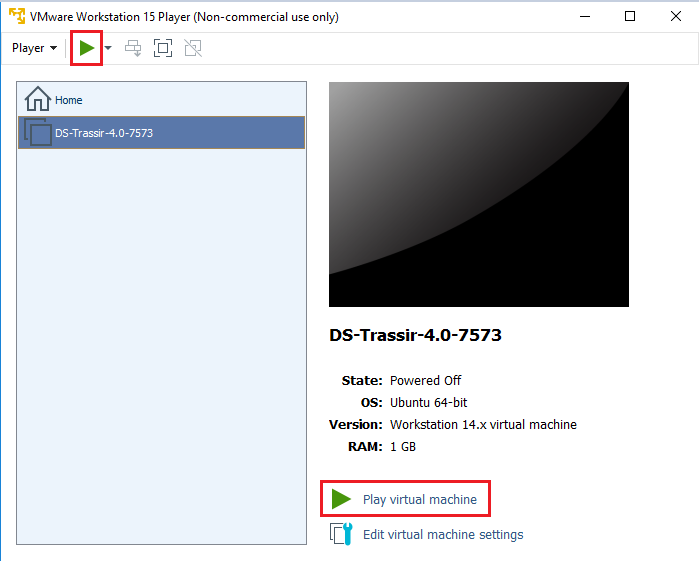
To start, select the imported virtual machine and click on the "Play virtual machine" button
Connecting a USB flash drive to a VMware Virtual machine
Player → Removeble Devices → select the required USB drive→ Сonnect

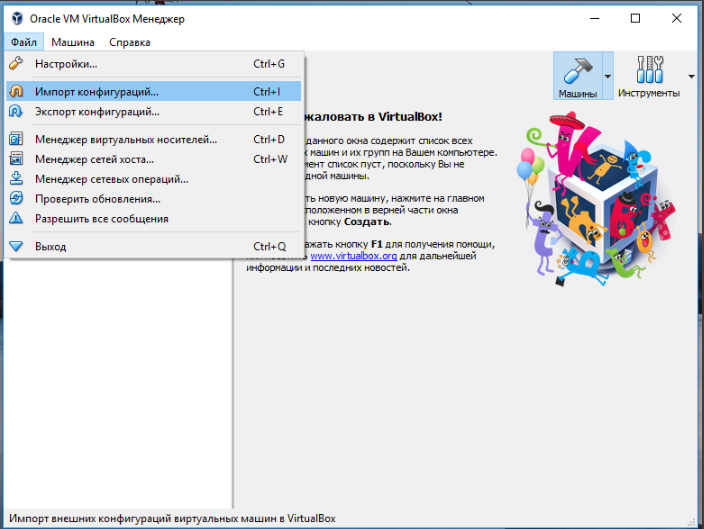
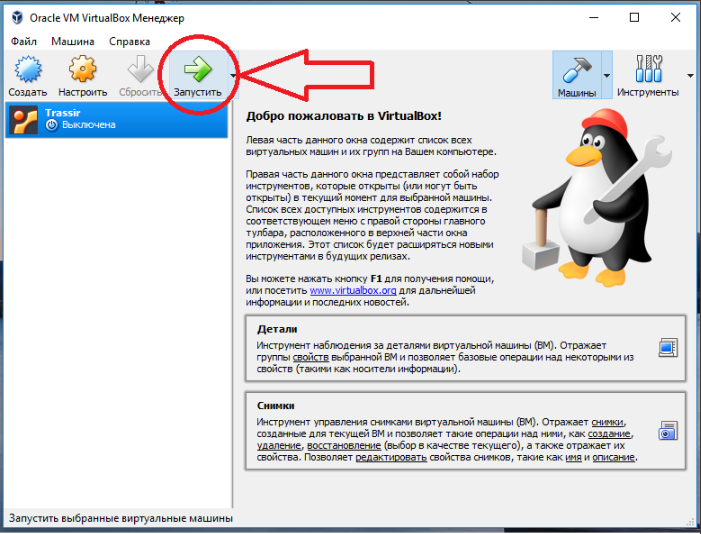
Running an environment to write an image on a VirtualBox virtual machine.
To launch the image, select "File" → Import Configuration → Specify the path to the image file
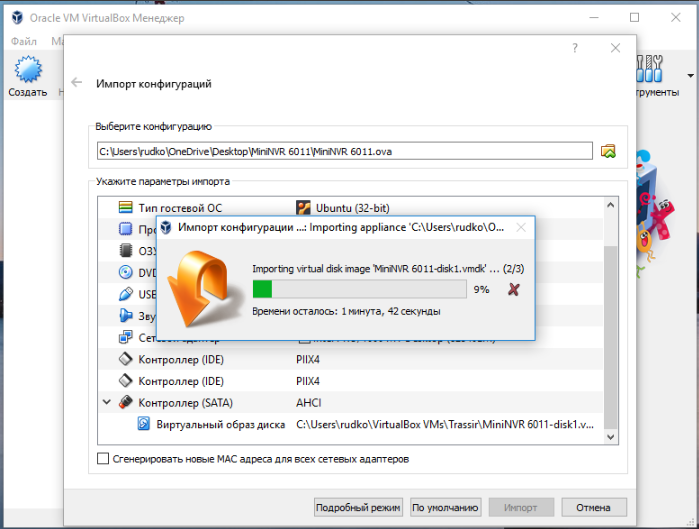
After opening the image, the Configuration Import procedure will begin
To start the virtual machine, click on the "Start" button
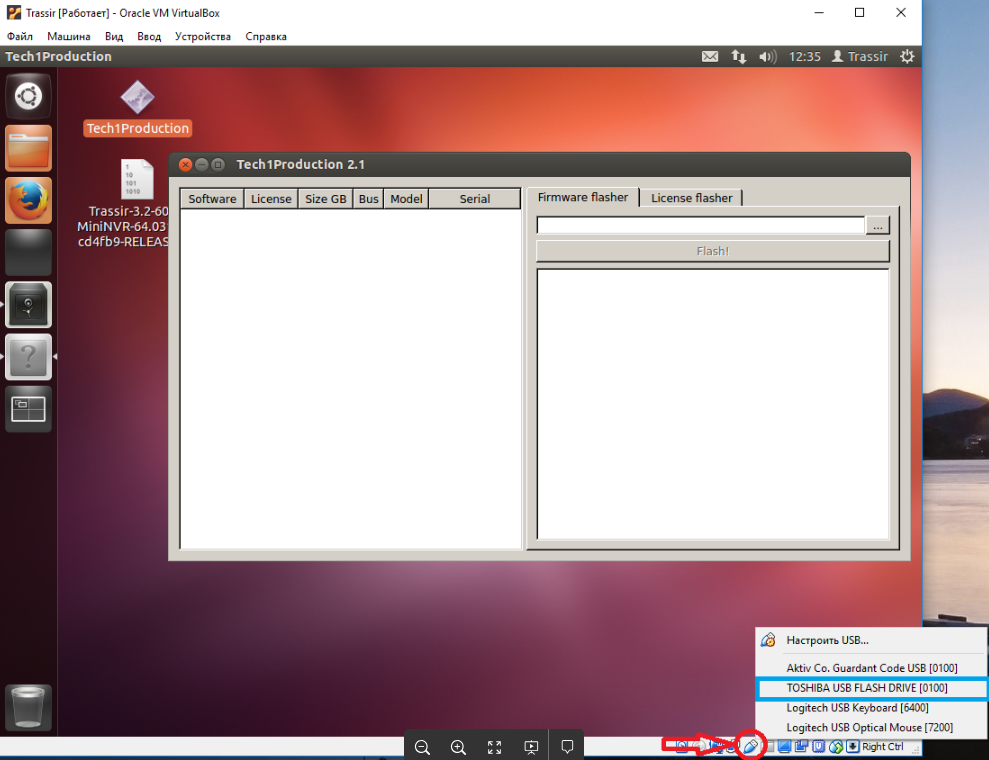
Connecting a USB flash drive to a VirtualBox virtual machine
Right-click on the flash drive icon in the lower console of the virtual machine window (see the screenshot below) and select the desired device.
Writing an image of Trassir OS to a USB flash drive
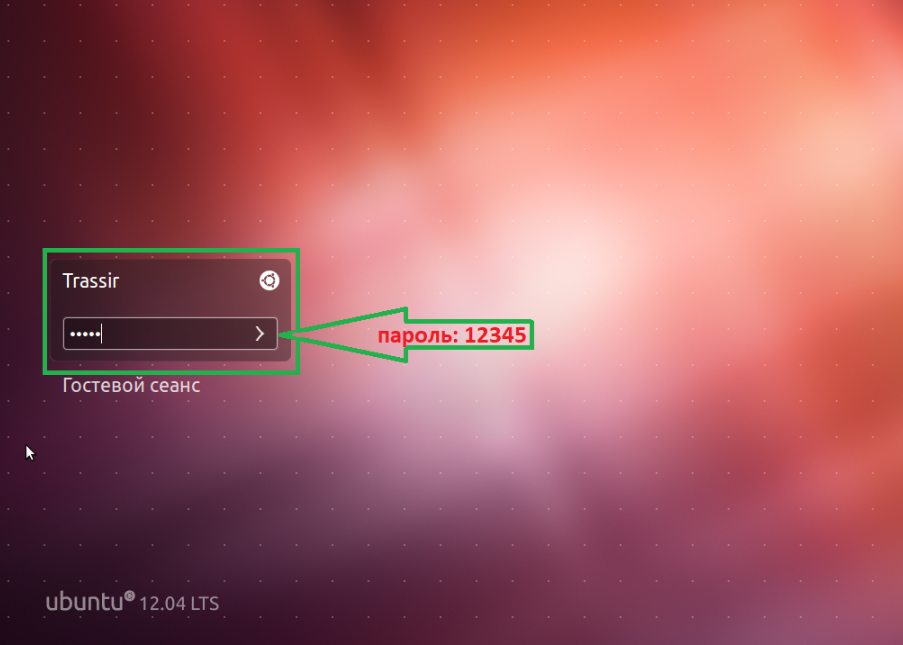
After starting the system, select the user "Trassir" in the welcome window and enter the password: 12345
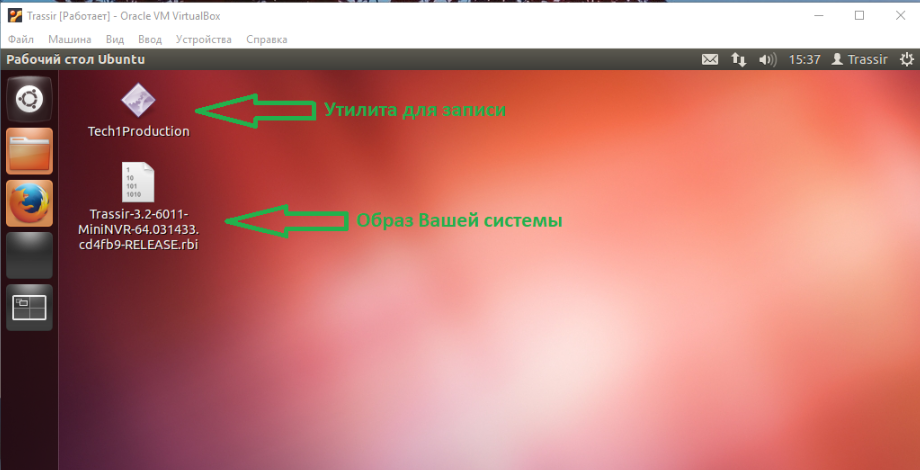
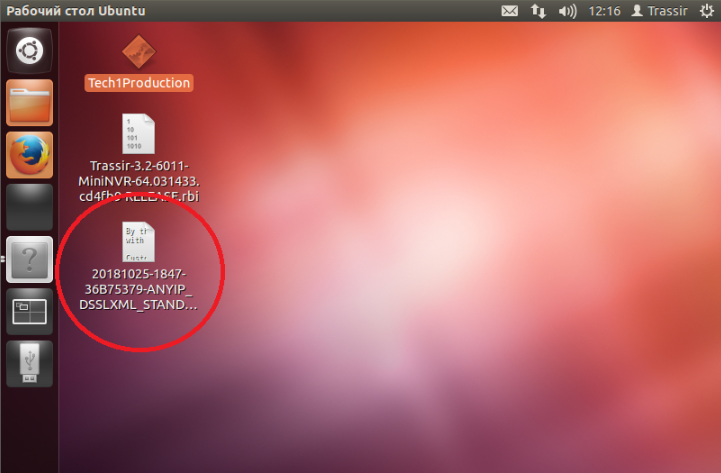
After logging in, a recording utility and an image of the Trassir OS system will be located on the desktop.
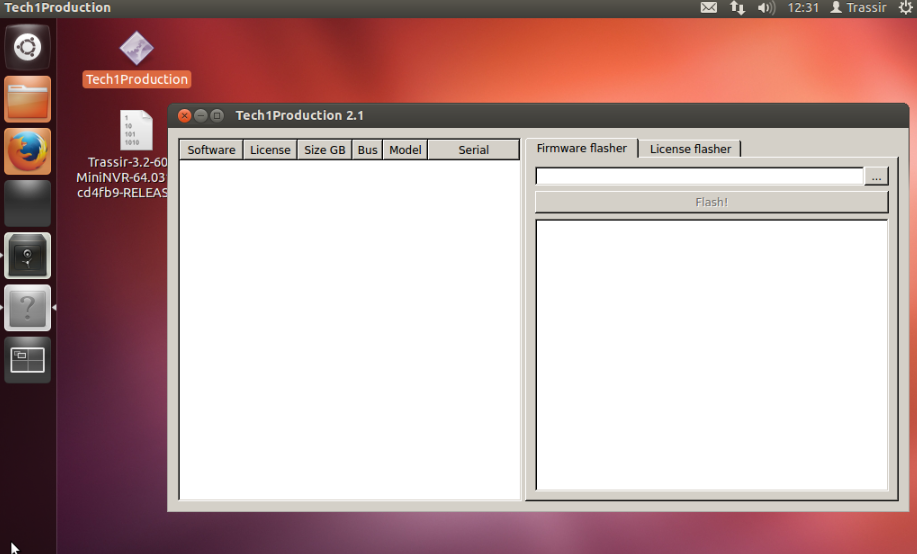
- Run the Tech 1 Production utility. At startup, a password will be requested, specify 12345
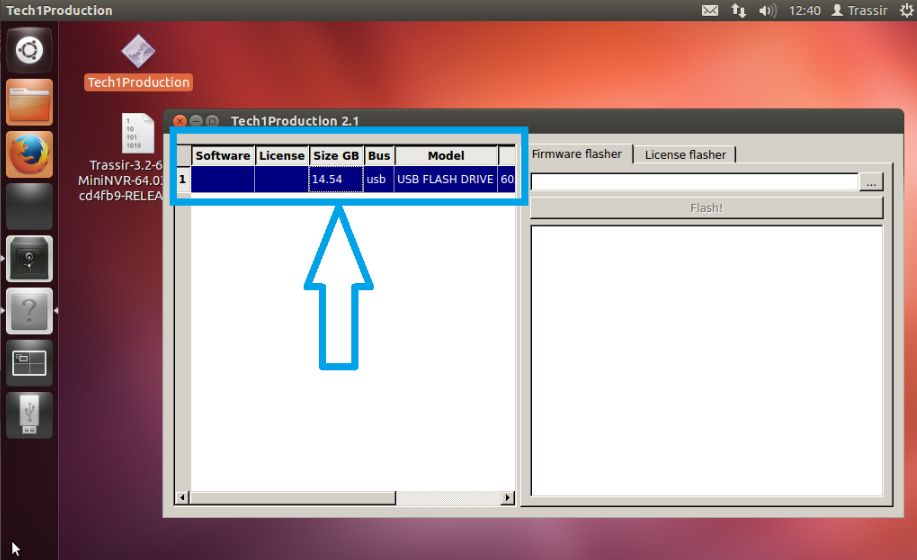
- Insert the USB flash drive into the PC and connect it to the virtual machine,
as indicated above in the paragraphs Running the environment to burn the image on the virtual machine. - After mounting, the flash drive will be determined in the utility.
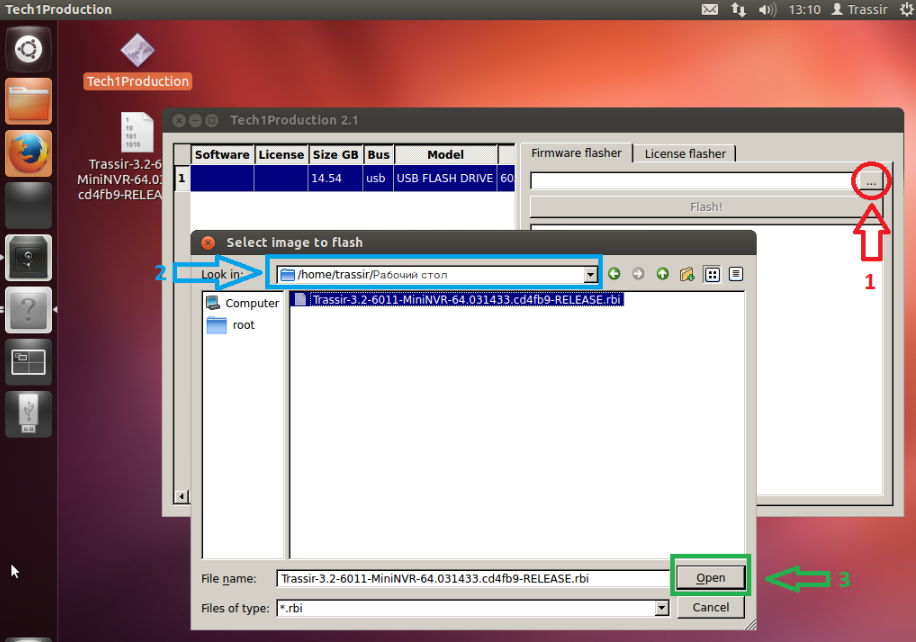
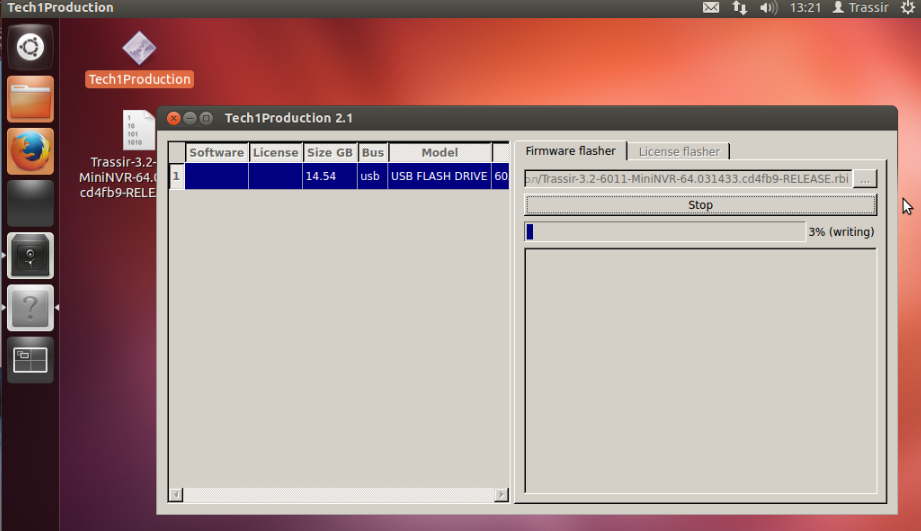
- To select an image, click the ”..." button on the right (1) and point to the firmware file (file with the rbi extension), which is located on the desktop (2) and click the "Open" button (3).
- To start recording, click "Flash!” and confirm the start of the firmware "Yes"
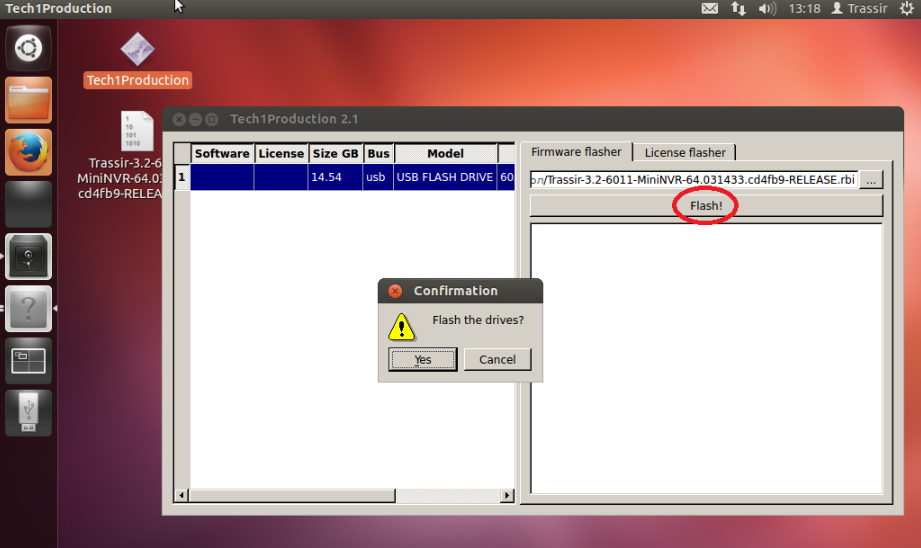
- The recording process will begin.
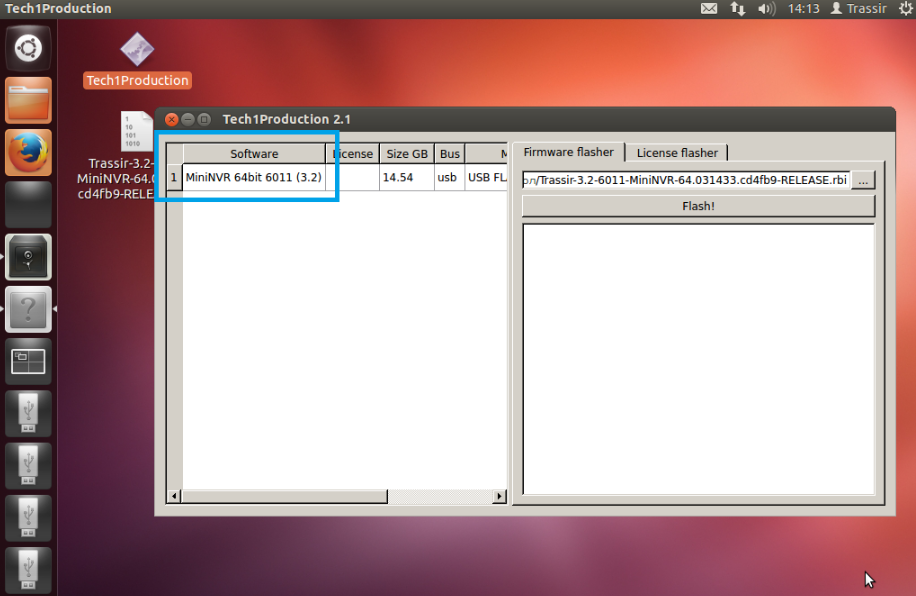
- After the firmware, the firmware version will be indicated in the software column — this means that the firmware was recorded successfully if the BROKEN firmware was recorded with errors.
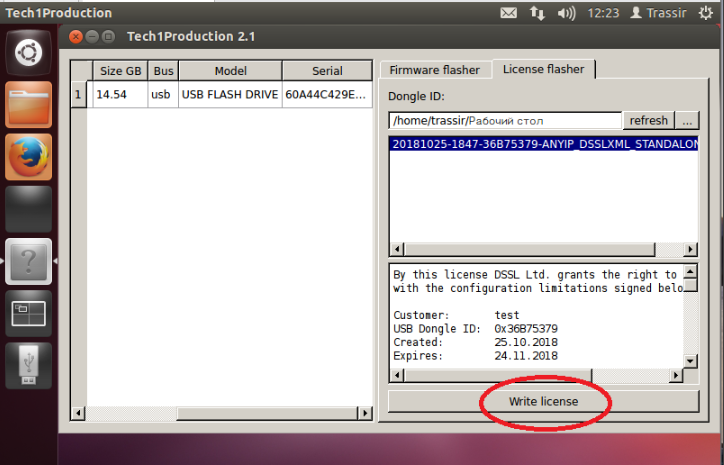
Recording a license on a bootable USB flash drive.
This item is optional.
If the license file is not sewn into the system image, then at the first startup or after resetting to factory settings, you will need to specify the license file.
Transfer the license file to your VM. This can be done by copying the file to another USB flash drive and connecting it to a virtual machine.
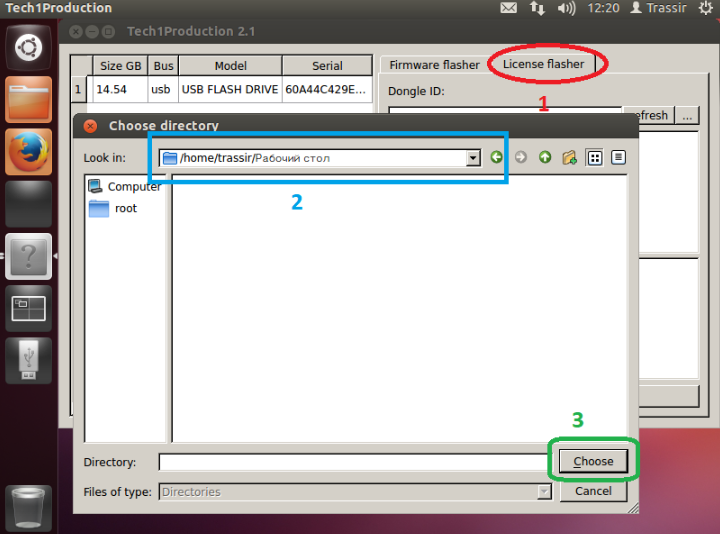
In TechProduction, go to the License flasher tab (1), specify the path to the license file (2), and click Choose (3).
Next, click Write License
In case of successful recording, the License column will indicate the number of the USB key from the license.
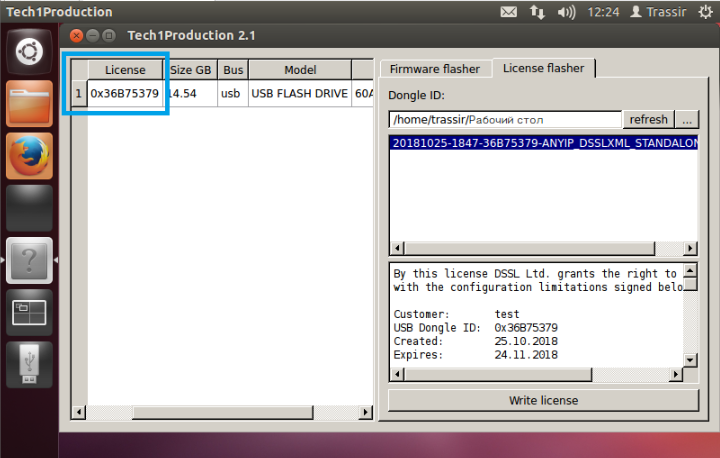
The bootable USB flash drive with the recorded license file is ready for use.