Enable Floor mapping on channel settings and go to Floor mapping setup.
Configuration of the module is made by a method of calibration of a video image with a special template. Before starting the calibration, download the template from the website nerian.com. Print it in 1:1 scale on an A2 sheet or larger. Be sure to check the scale of the resulting template using a ruler.

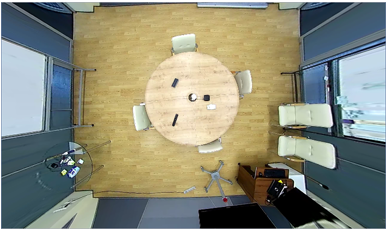
Before starting the calibration, place the template on the floor so that it is completely in the image area. Click the Calibrate button in the floor Calibration settings group and wait for the calibration to finish. Calibration is complete when the value in the Status becomes Calibrated.


Recalibration of the floor is necessary when changing:
1)The location of the camera;
2)The rotation angle of the camera;
3)The focal length of the lens.
To make camera calibration - select the type of lens installed on the camera: Mono or Fisheye. The camera calibration can be performed in two ways:
Calibrate camera manually
On the “With sliders” tab, in the aspect ratio and viewing Angle boxes, select the aspect ratio of the maximum camera resolution and the horizontal angle of the lens. Next, click the Calibrate button and change the position of the sliders to adjust the distortion of the image so that all straight lines in life (the boundaries of the walls and floor, the slopes of doors and windows, etc.) become straight in the image. When finished, click Stop.
Before

After
Camera calibration with the calibration table
On the With board tab, in the Interval field, enter the time that will pass between adjacent calibrations. The calibration is performed as follows: one person shows pattern at different points of the shooting area, and the other person presses the Calibrate button and controls the change of values in the Current Coverage and Current Observations parameters. Calibration is complete when frame Coverage is better than 80%. Click Stop to stop the calibration and lock the result.
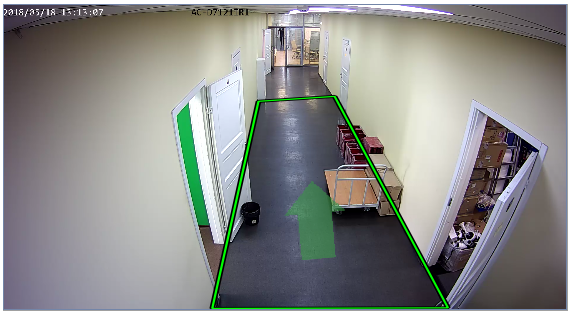
The selection of the floor.
Change the position of the rectangle points so that the selected area frames the entire visible surface of the floor. If necessary, add the desired number of points using the context menu. In the future, to properly place the floor area on the map, you will need to orient it in space. To do this, use the direction Hint setting on the map to point the arrow so that it looks at one of the walls or is parallel to the aisle.
Validation of calibration
To test the validity of the calibration is possible by placing the floor on the floor map. With the right settings, the floor area should be as close to the plan as possible.