- Follow this instruction - How to enable SSH connection on TRASSIR NVRs
- Download and run WinSCP - https://winscp.net/download/WinSCP-5.19.5-Setup.exe
- Connect to the server
Host name: server IP
Port number: 22
Username: vms, if the software verion is >=4.4; trassir, if the software verion is below 4.4
Password is a current Admin password (12345 by default)

Open up the terminal in WinSCP (Shift+Ctrl+T) and enter the command:
sudo mkdir /media/VmsArchive/Videos && sudo chmod 777 /media/VmsArchive/Videos
- Navigate to /media/VmsArchive/Videos directory in the right part of the WinSCP window. Or simply press "Ctrl+O", and paste "/media/VmsArchive/Videos" there, press OK or Enter:
- Navigate to the folder with .avi videos on your PC in the left part of the WinSCP then download your files to /media/VmsArchive/Videos directory by simple drag and drop
- Copy The full path to the .avi file

- Return to Trassir software. Reveal the "Hardware" → IP Devices → Add manually (g)

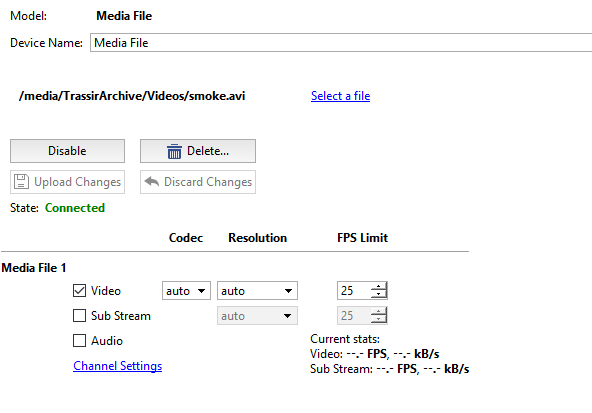
- Scroll all the way down to "File" - click it, then cleck on "Media File", then pase the full path

- Wait for some time and you will see your media file in IP Devices. Go to “Channel settings” (Or reveal the "Channels" menu) to configure this channel and setup any analytics that you need, like on a regular camera channel.
Обзор
Инструменты контента